With Apple's switch to ARM with the M1 chips, not only has performance and energy efficiency increased, but compatibility with Windows via Bootcamp has also been lost. If you now want to run Windows 11 on a current Mac with Apple Silicon, you need a virtualization solution.
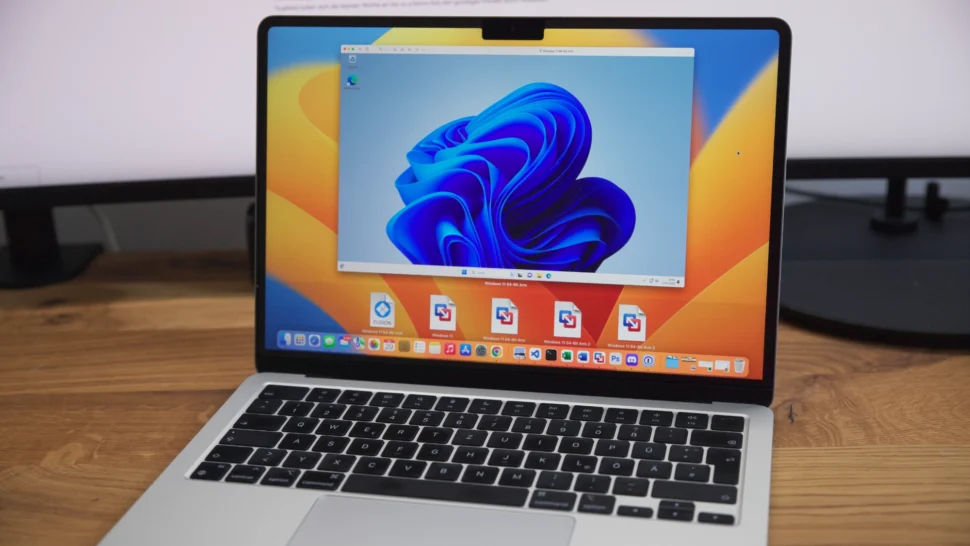
Known for trouble-free operation is Parallels, here you can also download Windows 11 directly, so you don't have to do anything more than enter a key. Disadvantage: Parallels costs around 100,- € per year - a cheaper solution had to be found, the aim was to Windows 11 ARM on a MacBook Air M2 (2022) to run. The device used is equipped with 24 GB of RAM & 1 TB of storage, so it offers enough space for this endeavor.
The second provider of a Apple Silicon compatible virtualization is VMWare. The product VMWare Fusion can be used free of charge for non-commercial purposes, a license must be purchased which can then be used privately without a runtime.
Content:
Step 1: VMWare Fusion free license & download
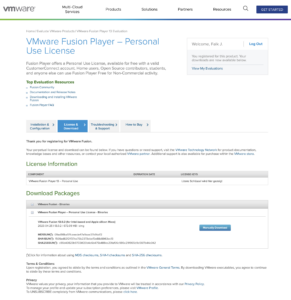
VMWare "only" requires a user account, which can be easily created. After that, the VMWare page lets you create the Download VMware Fusion Player - Personal Use License (at the end of the day, it's just a key you get).
The download is for both Intel Macs and Apple Silicon, you don't need to pay attention to anything else here.
After the download, simply start the installation, enter the license key in the meantime and VMware is ready. Unlike Parallels, there is no option to download an operating system image directly. After Microsoft did not ISO for Windows 11 ARM (only an Insider preview as Hyper-V container, which is not compatible with VMware), you have to download & create the image first. There are several tutorials on the net for this, in step 2 this is done:
Step 2: Windows 11 ARM ISO image download
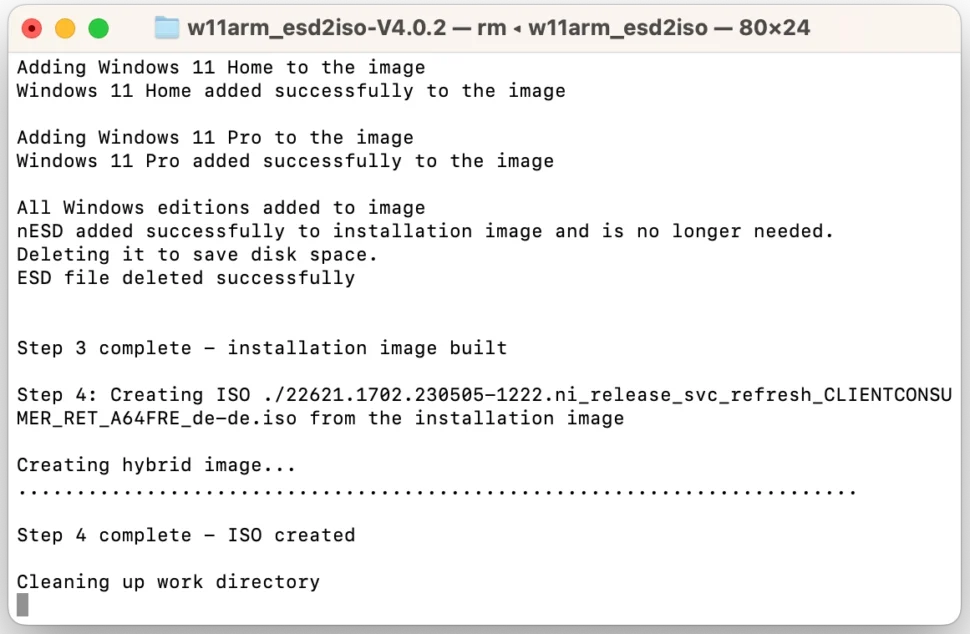
After trying several variations to get a working image (UUP dump, Windows Insider Preview and then changing the image format, an existing Parallels image (which was then recognized by VMware as an incompatible x86 OS even though it was from an M1 Max).
The solution then ultimately found in the VMware community to find: the script w11arm_esd2iso does the necessary steps on a Mac to get an ISO at the end, with which Windows 11 in VMware Fusion can be installed on an Apple Silicon Mac.
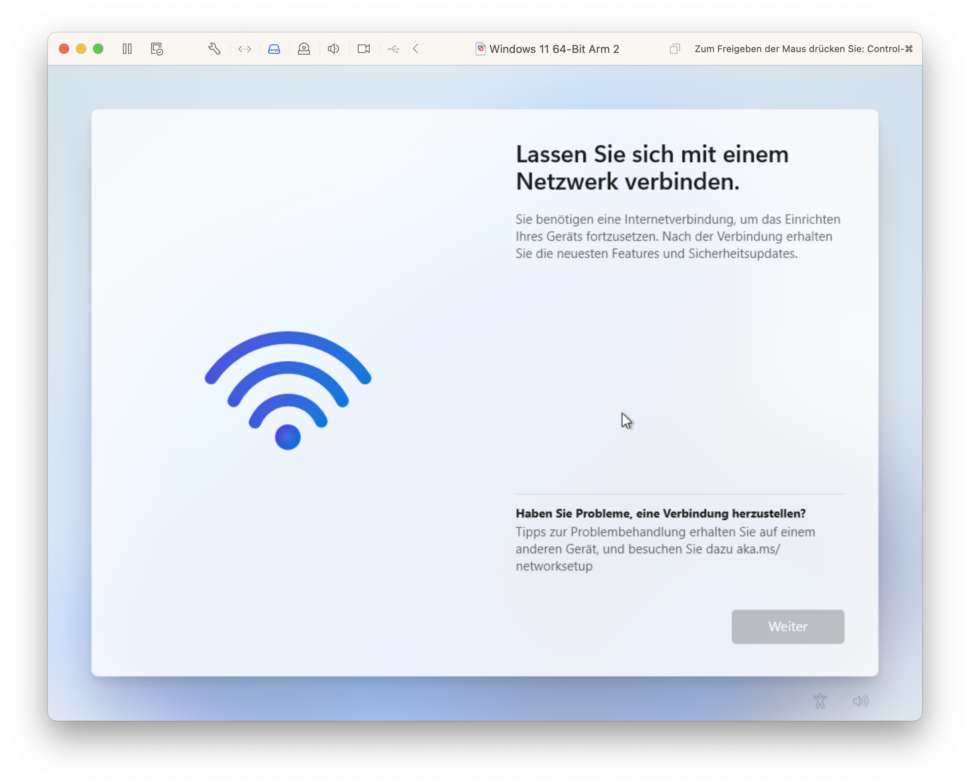
Here you will encounter the next hurdle: VMware is not yet as far along with the development as Parallels, so that no network connection is available during the installation. This must be avoided, otherwise Windows 11 cannot be installed. The necessary entries in the next step.
Step 3: Install Windows 11 ARM without Internet
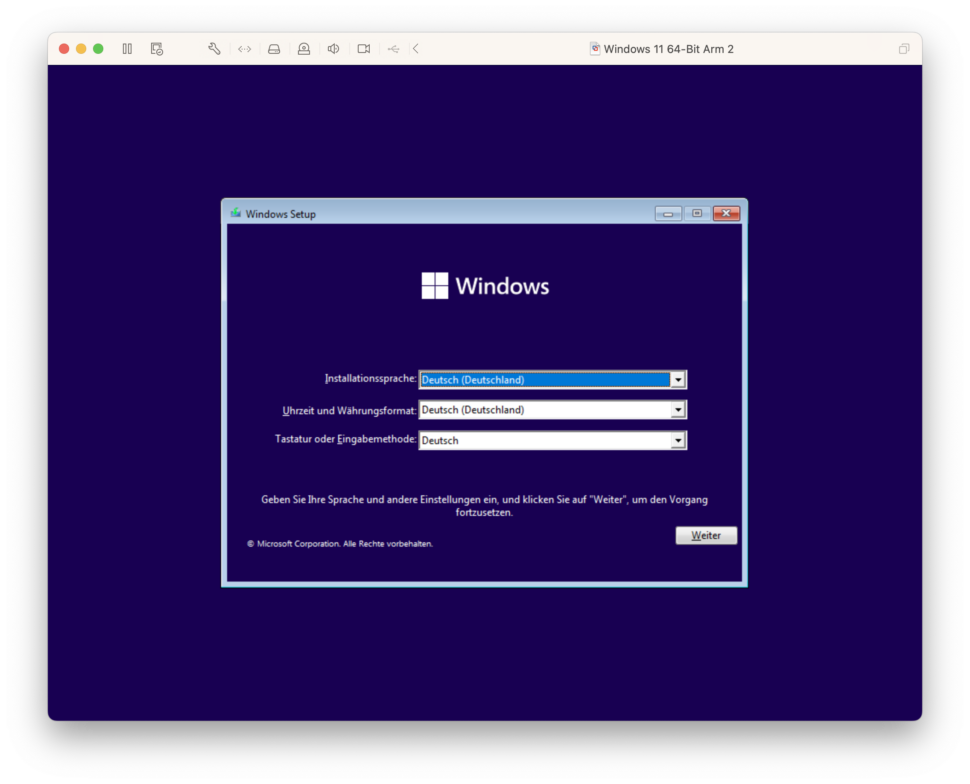
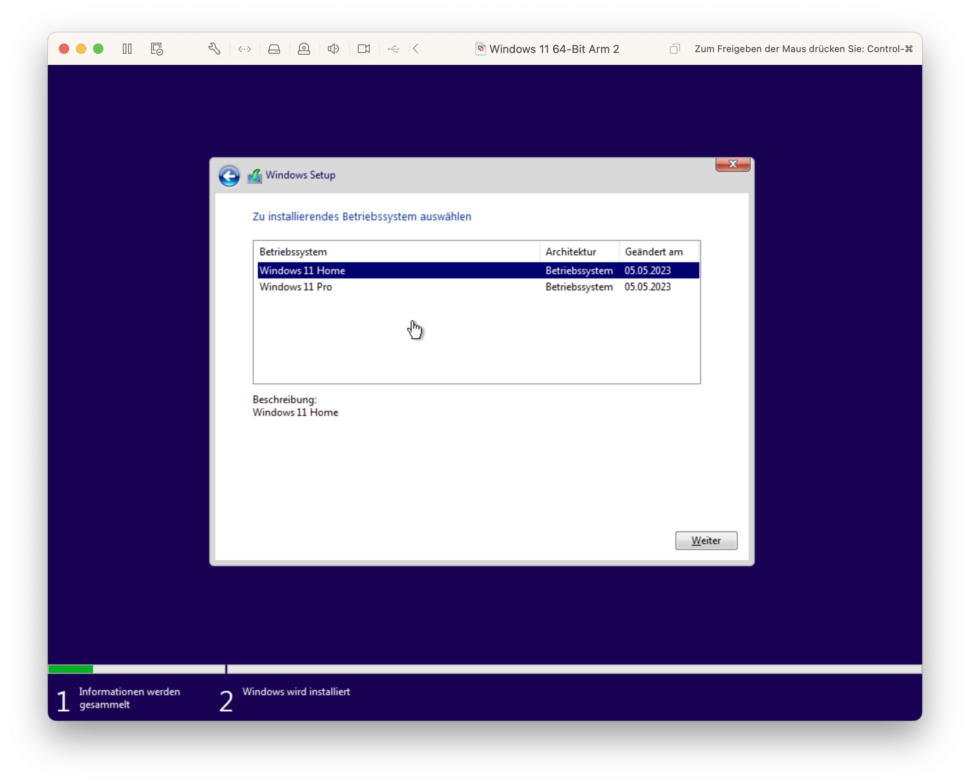
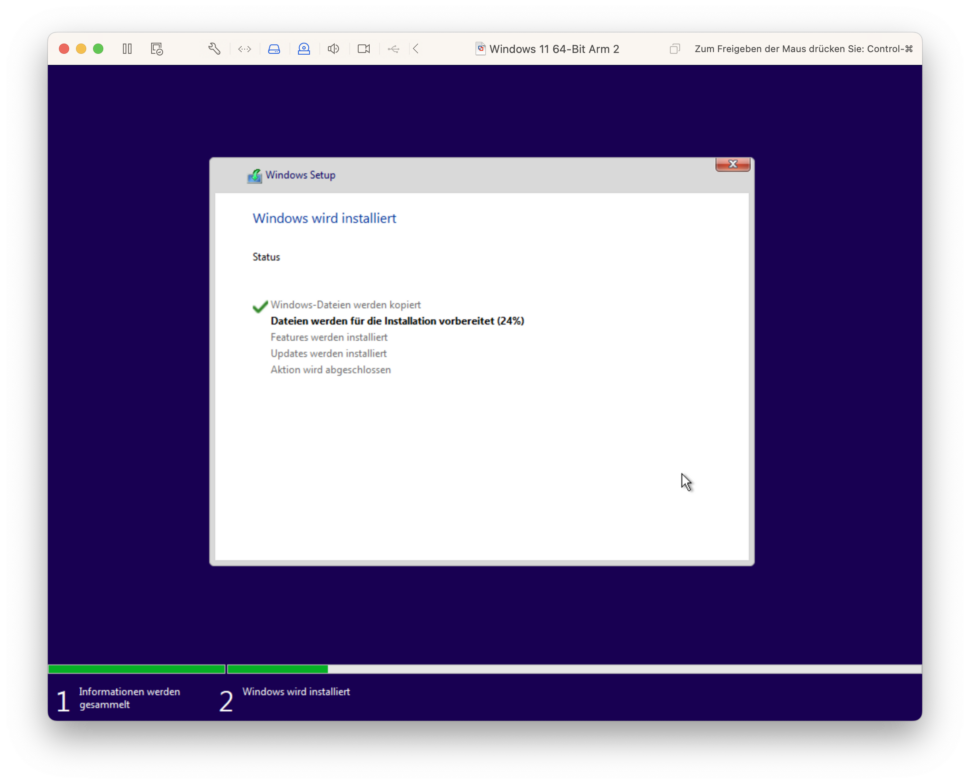
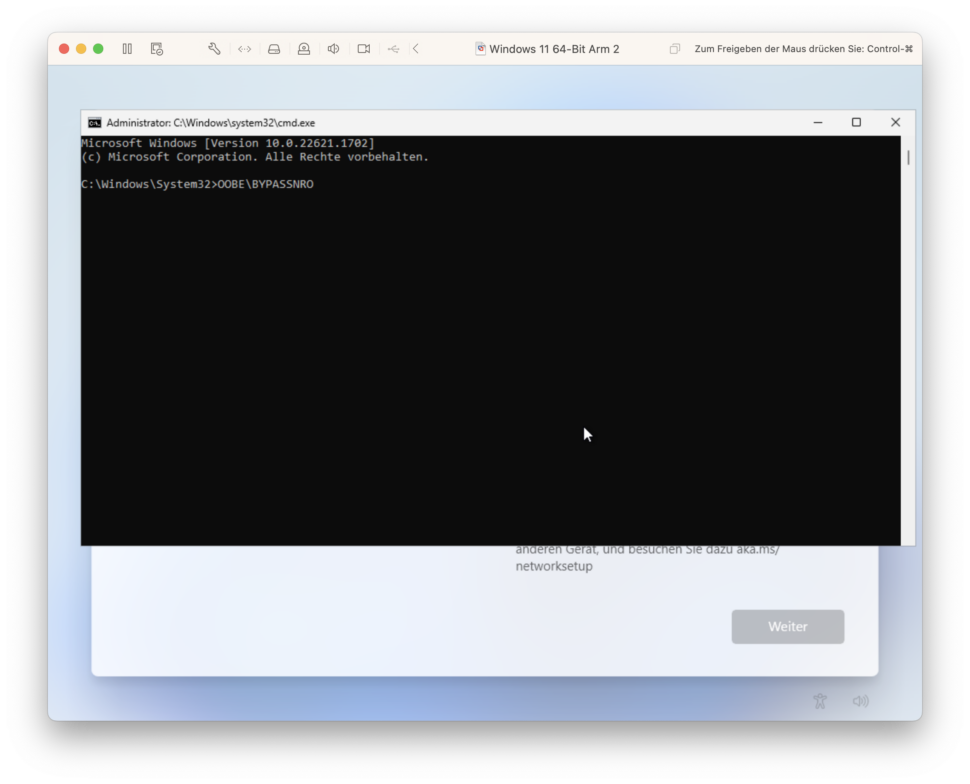
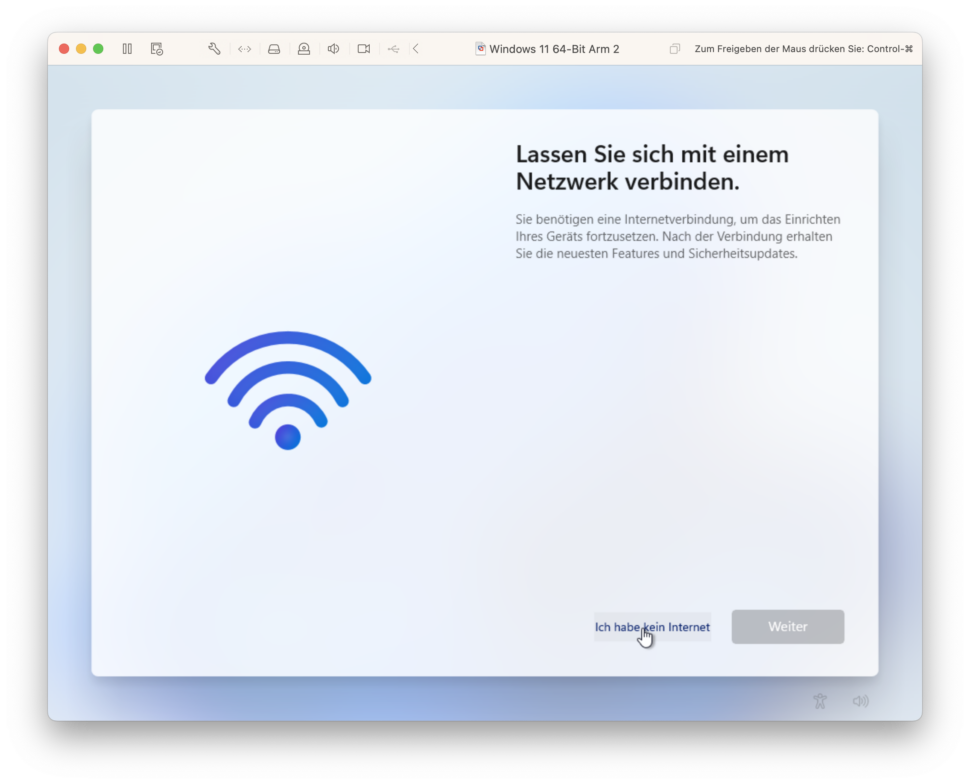
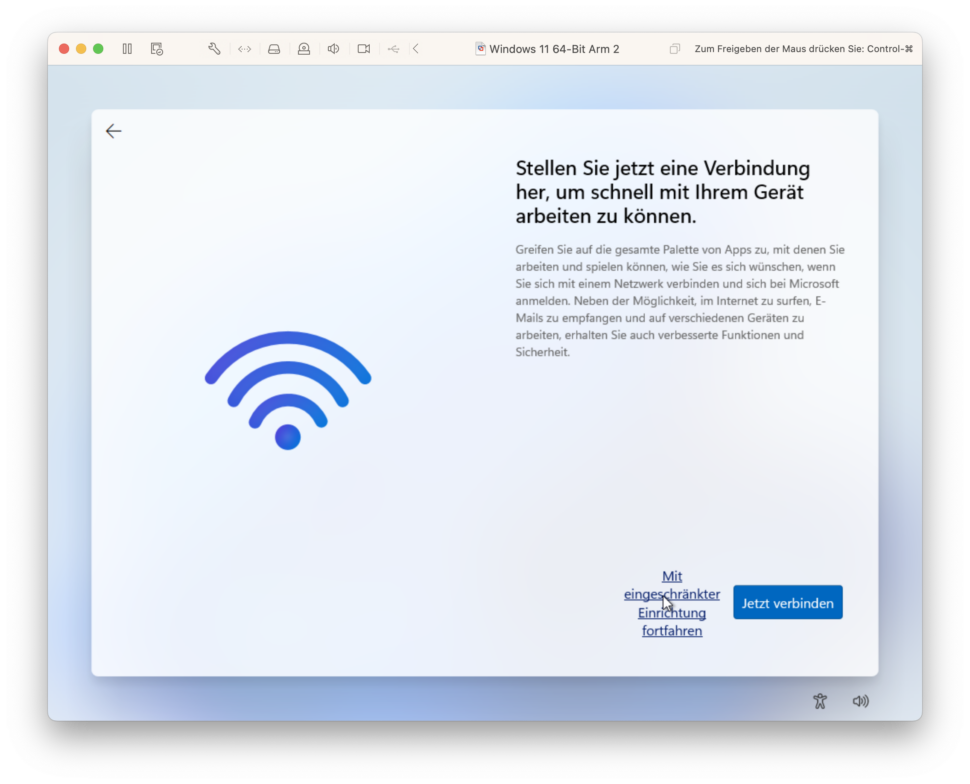
Since VMware does not provide a network without VMware Tools, Windows must first be "convinced" that you can perform the next step of the installation without a network. "VMware Fusion windows arm no internet"This is a frequently searched problem, which can be solved quite easily: For this, make the following entries in the step where it goes no further without Internet:
- Shift + FN + F10 press, this will start a prompt during installation
- In the command prompt OOBE\BYPASSNRO enter. A tip: you can get the backslash on Mac with "Alt + Shift + 7".
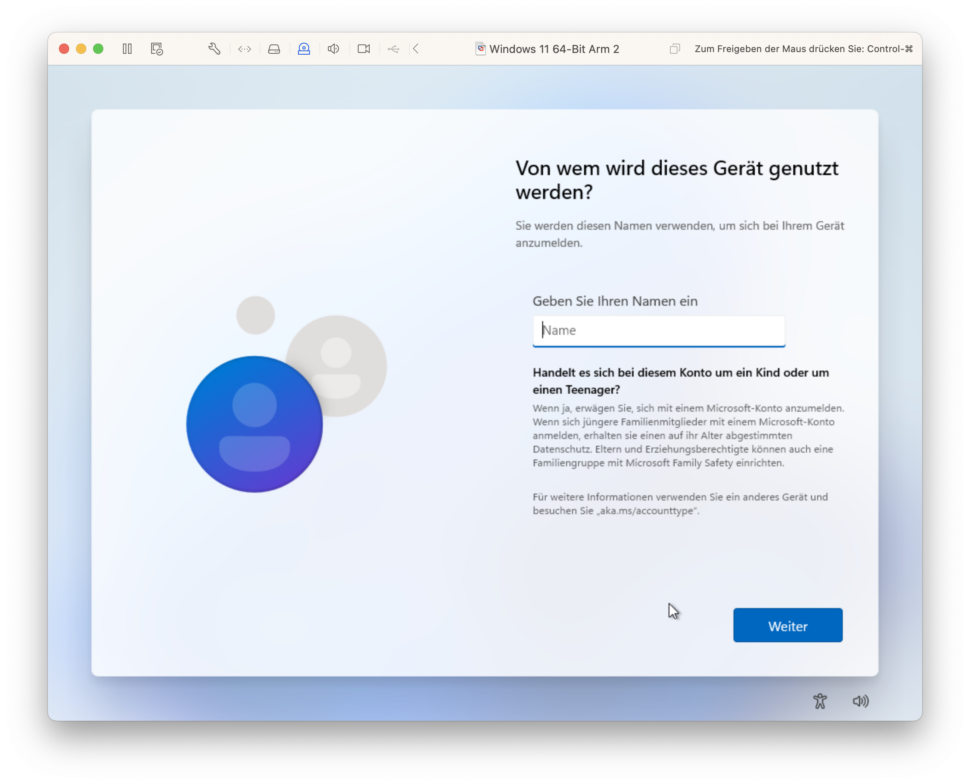
After that, the last section of the installation restarts, only now an option to continue without Internet is offered. The Windows 11 ARM installation can now be completed, the next step is to install the VMware tools (after all, you need a graphics driver and network, without these two components it makes little sense).
Step 4: Install VMware Tools on Windows 11 ARM
VMware offers drivers and a better integration or connection between the host (macOS) and the guest operating system (Windows 11 ARM) via VMware Tools. The latter is still under development, and VMware does not (yet) offer comfort features like a shared clipboard or 3D support. The paid Parallels solution has an advantage here. This is not a problem for many applications and when the data is stored on a network drive anyway - it can also be assumed that VMware wants to catch up with the competitor here.
To install VMware Tools on Windows 11, you need to follow a few steps again, you can't just start the installation:
- Start the virtual machine with Windows 11 ARM
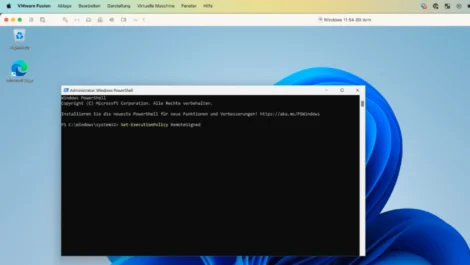
- search for "powershell" in the search and start as administrator
- in the powershell input "set-executionpolicy remotesigned"Enter and confirm
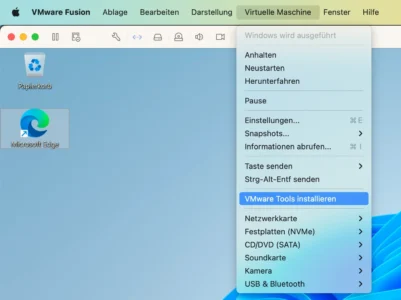
- select the "Install VMware Tools" item in the VMware menus
- now start the setup within the Windows VM.
The VMware tools are now installed, after which the virtual machine has a graphics driver, and more importantly, networking. After that, you can use Windows 11.
Step 5: Activate & use Windows 11 ARM
Once you have completed these five steps, you only have to activate Windows 11 with a key. Keys work independently of the Windows variant, Windows 11 ARM can be activated with a regular key. This can either be obtained from a (reputable) key seller or from Amazon: Microsoft Windows 11 Pro from € 229.00 or Microsoft Windows 11 Home from € 109.99
Now final steps like installing Windows updates and installing Windows applications can be done. In my particular case, Windows for MailStore Home and Wiso Tax 2023 is required. Although there is also a Mac version of Wiso, before the change to macOS was already started with the Windows version. Also for smaller C# projects, which are also much easier to develop in a Windows environment.
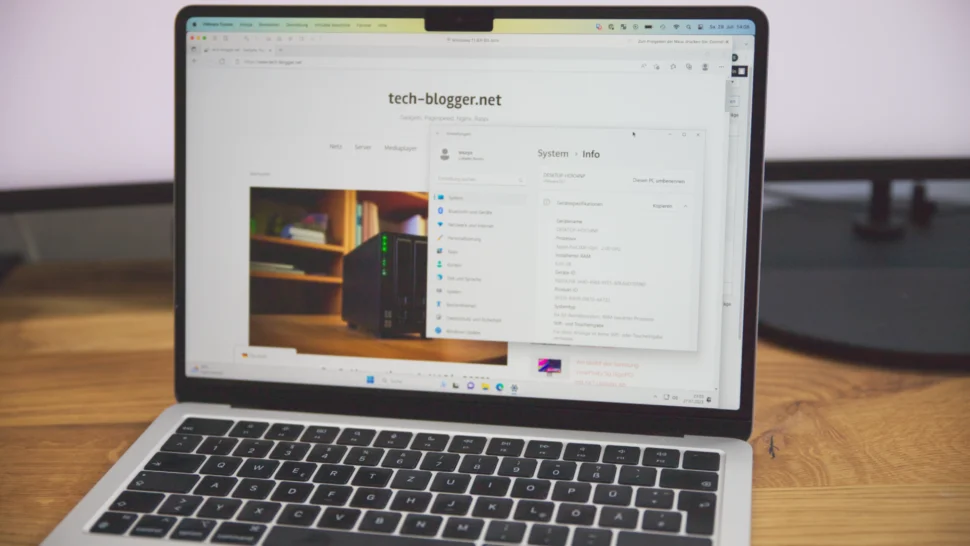
This is also one of the advantages of the Windows 11 virtualization on Apple Silicon: not only Windows 11 for ARM applications can be run, but also 32- and 64-bit x86 software can run as long as it is not too demanding (and that too on an M2 MacBook Air 2022, a more powerful Mac is not needed).
Conclusion: Windows 11 on Apple Silicon with VMware Fusion Player
Even though a bit more steps are necessary than with Parallels, VMware is the cheaper solution for private users: besides the Windows license, there are no further costs.
The performance is sufficient to have the flexibility to use existing Windows software on the go. You can also configure how many resources Windows is allowed to use.
Another advantage is that you can also run Linux with VMware Fusion and thus get three different operating systems on an ultra-portable device with a long battery life. In addition, you can also easily create backups of Windows or other systems by including it in the TimeMachine backup.
All in all VMware Fusion with the free license a good solution for home users switching to macOS or an Apple Silicon Mac. You can also try it out for 30 days without having to buy a Windows license.
