For some time now, I have been using two FreeNAS boxes at two locations to back up my data using ZFS snapshots and replication. This connection should be additionally secured by OpenVPN.
The idea: one Raspberry Pi at each of the two locations, which are connected to each other via OpenVPN, plus corresponding static routes so that the two FreeNAS boxes can reach each other. The basis for this is the approach to create a OpenVPN Gateway to build.
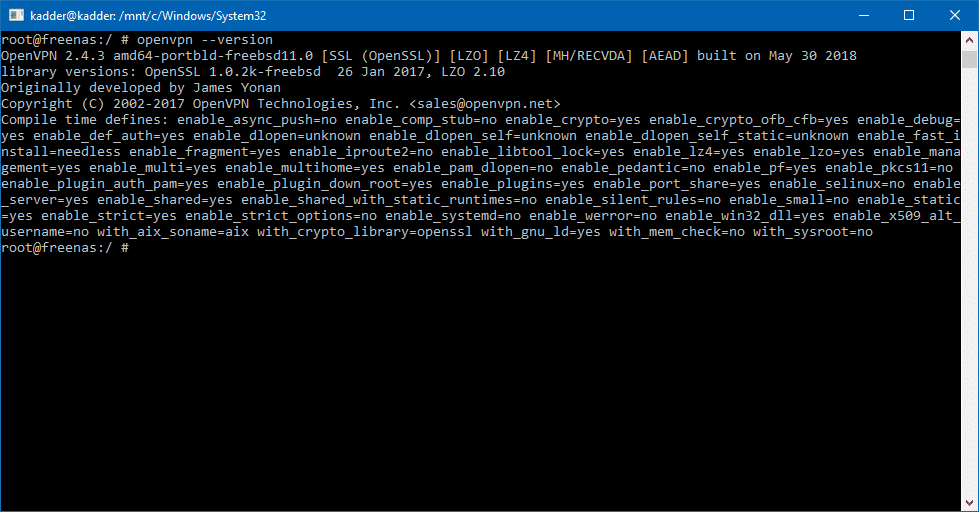
But: there is also a simpler way. FreeNAS 11.1 has OpenVPN 2.4.3 and can use it to establish connections to OpenVPN servers yourself. The advantage: you don't need a complex gateway setup, which has to be connected with a second Raspberry Pi brings with it another source of error.
The setup is simple: as soon as you have a working VPN server, you can establish a connection using the usual commands:
/usr/sbin/local/openvpn --config config.ovpn --daemonAfter that you can reach the server "at the other end" under its usual IP address, e.g. 192.168.178.45. This allows you to configure the replication tasks in FreeNAS as if the target was on your own network. Another advantage is that you only need one open port for the VPN and no further port for SSH.

The setup of the VPN server on the Raspberry-Pi can be easily done by PiVPN take place. I also use the Raspi on the target network to power on the FreeNAS server on a scheduled basis - this saves power in the time when no changes are made to files anyway.
Update 07.01.2021: TrueNAS 12 with Wireguard client
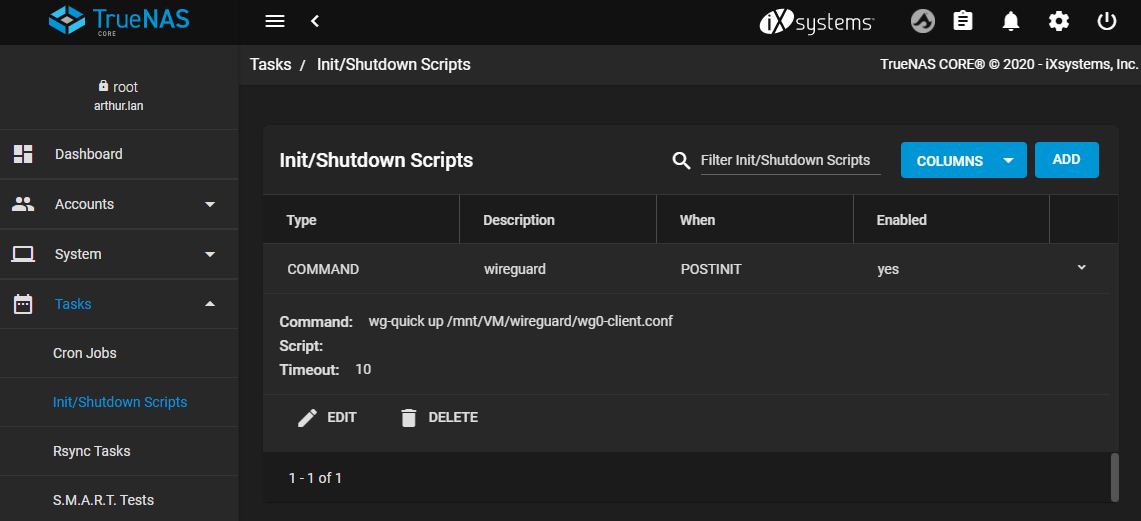
In the meantime FreeNAS has become TrueNAS, with the current FreeBSD substructure even Wireguard as VPN client in TrueNAS is available. This also allows a connection to other Wireguard peers to be established and the replication tasks to be performed via this.


