If you run a small private blog like this one and have a fast enough internet connection (especially the upload is important), you can consider hosting it directly at home. There are some advantages to this, but there are also new challenges. Here I explain the steps necessary to host 100 - 200 visitors a day with your own domain from home.
Here I explain the steps needed to host 100 - 200 visitors a day with your own domain from home.
Time commitment: 3 hours and 30 minutes
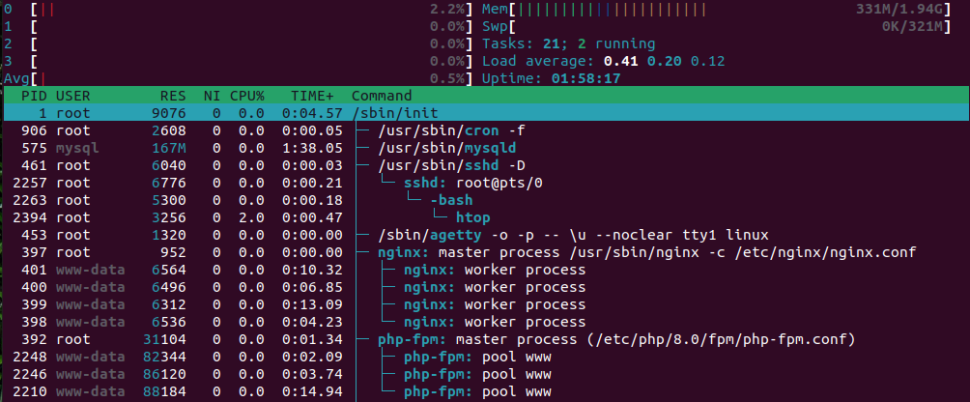
Configure a "server" (Nginx, PHP, MySQL on Raspberry Pi)

First, the blog (in this case WordPress) needs to run on a system within its own network. So that the power consumption doesn't completely eat up any potential cost savings, I use an Odroid C2, but a Raspberry Pi would do the job just as well.
For Debian-based Linux distributions, you can simply follow the common instructions like the one from Spinupwp.com to install Nginx, PHP (I use the current PHP 8) and MySQL or MariaDB. Compile Nginx yourself is not necessary, since the current "mainline" version is also available as a package for ARM.
In the end, WordPress should be accessible under the IP address of the server in the local network (in my case: http://192.168.0.150) - in terms of secure passwords, of course, the same applies as for a device on the Internet, although you can simply also share access to certain directories only for IP addresses from the local network.
Share ports and configure DDNS

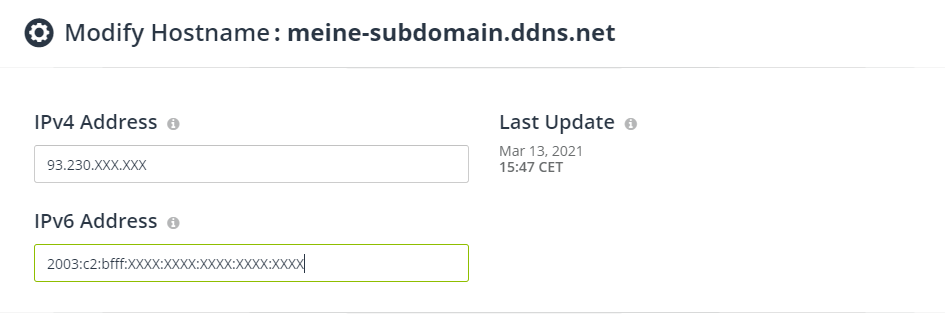
In order for the server to be reachable, the router (I use a Fritzbox 7590), port sharing must be set up and a DynDNS service (e.g. no-ip.com) must be used to ensure that the current IP address is known under a domain name. Only port 80 for HTTP connections (needed to get a Let's Encrypt certificate) and port 443 for HTTPS connections are released. Port shares for SSH or FTP should not be set up, the fewer ports shared the better.
At the end of this step, the WordPress set up should be accessible at https://meine-subdomain.no-ip.com to continue with Cloudflare.
Configure Cloudflare as CDN and caching

Cloudflare can be used for free to disguise your IP address (especially important in this setup) as well as to cache requests and take load off the actual server (since a Rasbperry Pi doesn't have the performance of a real server after all). It also acts as a CDN and shortens response times for users from other regions of the world.
In the Cloudflare configuration, the subdomain of the DynDNS service defined in step 2 is now stored as a CNAME entry. The result: cached via Cloudflare, the blog is now delivered via a Raspberry Pi within your own four walls.
Advantages & disadvantages of "home hosting":
Of course, there are also disadvantages: on the one hand, another device must be supplied with power and Internet, on the other hand, of course, you have to take care of the software and the installation itself (but just like with a "real" server). On the other hand, you can follow the whole process of how a website gets on the Internet and what is necessary for it.
The advantages are that you can make backups practically "locally" in your own network and save the approx. 5 euros per month that a small instance costs at DigitalOcean or other hosters. Pure web hosting is available cheaper, but if you want to deal with Nginx and PHP configuration yourself, "home hosting" is a viable alternative in my view.


