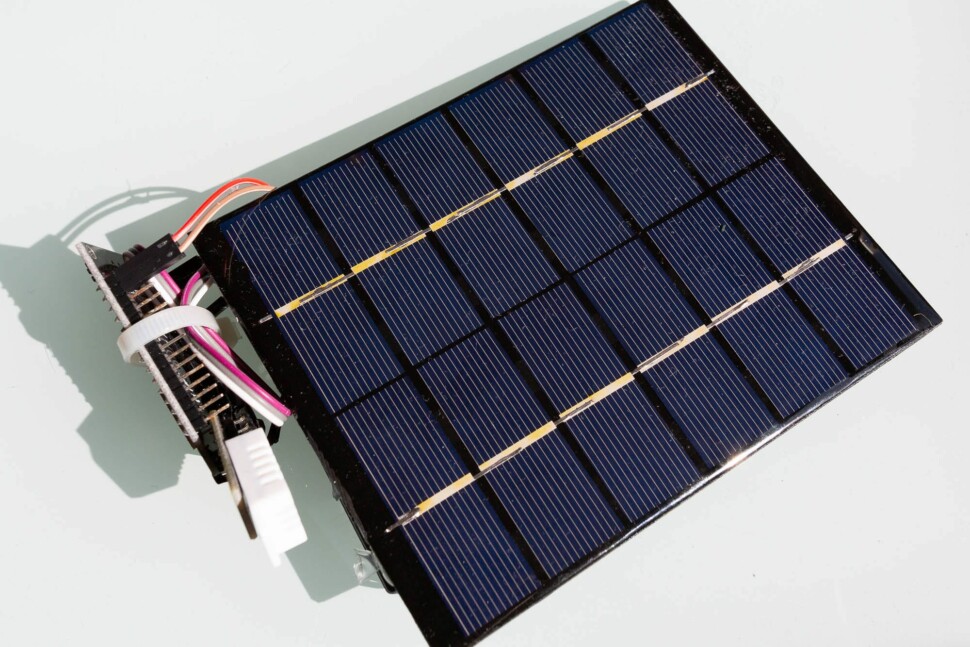
Anyone who uses an air humidity sensor is first of all dependent on the proximity of a power socket. This can be avoided by using a solar cell and a rechargeable battery as a buffer.
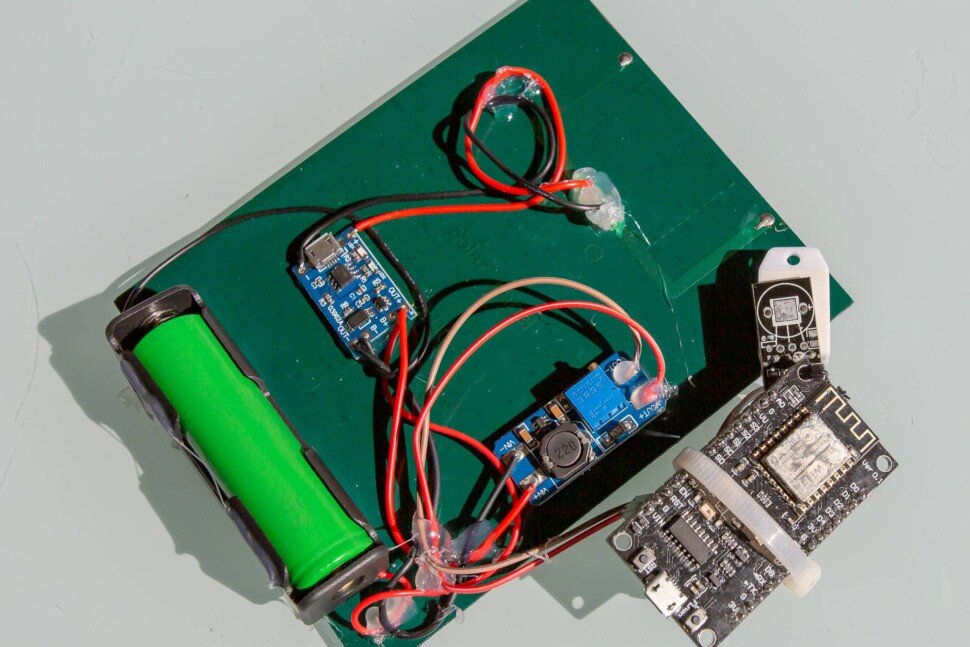
Basically you should already have a functioning Air data sensor This helps to avoid a source of error, even if the particulate matter sensor is not connected to the ESP8266 module in this article. Only a few components are needed to ensure that ESP8266 is supplied with 5 volts by the solar cell and battery:
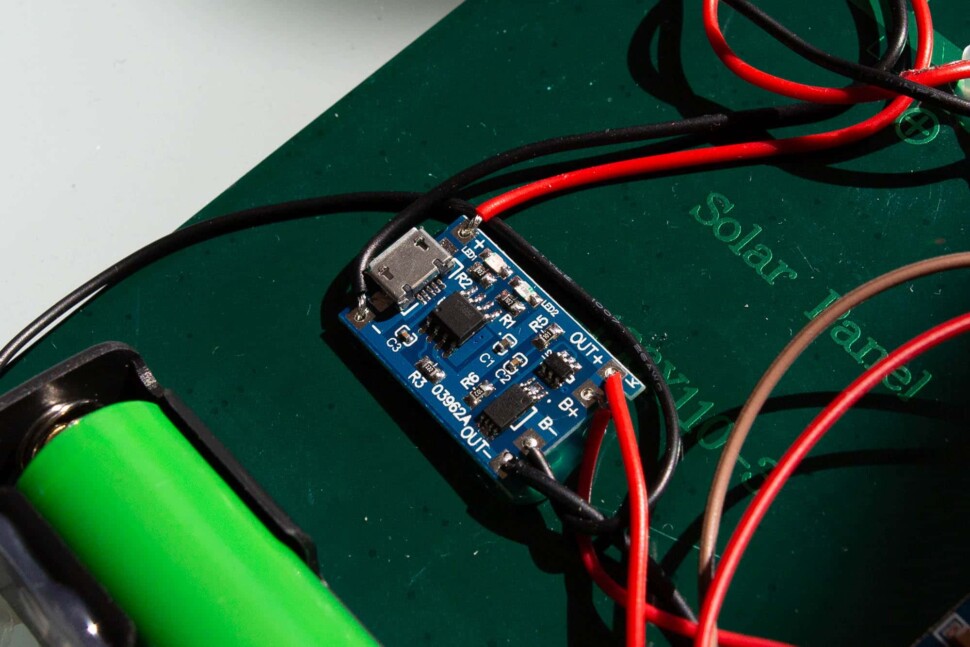
- TP4056 Loading module
- MT3608 DC-DC Converter
- Battery holder for 18650 battery
- 18650 Lithium-ion battery with 3.7 Volt
- Solar panel 6 Volt, 2 Watt
A soldering iron and a multimeter should also be available, otherwise e.g. DC-DC converters cannot be set to 5 volts. Once you have soldered all the components together, it's easy to do thanks to the clear labeling on the boards.
Did you put everything together correctly and connect the DC-DC converter to the "VIN" and "GD" connectors (on my EPS8266 board these are the ones left of the micro-USB port which is normally used for power supply).
Important: the battery may only be charged via the TP4056 module, directly connected to a power supply the battery can explode. In general one has to be careful when charging Li-Ion batteries to avoid damage to the battery.
After I soldered everything together, it worked for the first time: the battery was previously charged via USB, so the solar cell didn't have to contribute much. As it turned out after a few hours, the solar cell does not charge the battery enough. The voltage then falls below the value at which the charging module deactivates the load so that the lithium-ion battery is not damaged.
More background information about charging and checking Li-Ion batteries can be found at cloud101.com.
Setbacks: either too small solar cell or too bad weather
The approach: a larger solar cell (from Ebay), this time directly with USB connection (which can therefore be used for other purposes without soldering) The new cell will be delivered within the next week, then this article will continue.
The situation so far: the small solar cell is not sufficient to supply enough energy to supply the ESP8266 nodeMCU with the humidity sensor. Probably the firmware used by the Air Data Projects a role that does not have a real sleep mode.
But if the battery is sufficiently charged, the setup works for about 2 days - so I hope that with more solar energy the cell will be sufficiently charged during the day.
